There’s a lot to be said for simplicity. Especially when it comes to podcasting. If you want to get episodes out on a regular basis then, without a doubt, simplicity is key to that.
This applies to equipment more than anything else. There’s a big danger, if you’re a gadget geek like me, that you can get lost down a very expensive and very complicated audio-gear rabbit hole...
I want to share with you three different setups that offer the simplest, quickest ways to podcast. That means when you sit down to record, you can record immediately. You won’t spend half an hour figuring out the mic settings, or the software setup, or why there’s a weird buzz in your headphones. You can just plug in and play. And that is how we build a loyal audience. By showing up every week and putting our all into the content…NOT the equipment.
How Do You Podcast?
First off, let’s look at your format. This is the deciding factor in which of the three setups you should choose. By format I really mean two things:
1. Who’s on your show?
2. How do you record?
Take number 1 first, because... well, it’s number 1, isn’t it? Is it just you on the show? Or do you have a co-host? Do you also have interviewees? The number of people on your show, both hosts and guests, is a factor.
Then, number 2. This applies only if you have someone else on the show. How do you record them? Will they be in the same room as you (in-person), or will they be online?
Once you've answered those questions, it should be easy to choose the right setup below.
1. The Simplest Setup for One Person
If it’s just you, that makes things simple. We just need one mic, and a quick way to record it.
For me, this comes down to the piece of kit we always have in our pocket: a smartphone. I could talk to you all day about how great the Zoom H5 recorder is. And it is. But, it’s an extra thing we have to carry around. And a new thing to learn.
Instead, your smartphone is easy, familiar and, often, very powerful.
The only thing they're not top notch on, is recording quality. For that we need an external microphone, and my favourite smartphone mic is the Rode Smartlav+ (see some comparisons here). This is a lavalier mic (a small tie-clip device that clips onto your shirt) and it plugs into any smartphone. Then, when you fire up your recorder app, it’ll draw audio from the Smartlav rather than your phone microphone. Much better.
Finally, how to record? Well, every smartphone that I know of has a dictation or a voice recording app as standard. Use that! Don’t bother with fancy external applications that offer bells and whistles. We’re going for simplicity here. The default iOS and Android ‘voice recorder’ apps work perfectly and make it really easy to share the file to Dropbox or to email it to yourself.
2. The Simplest Setup for 2 People, IN-PERSON
The great thing is, the 1 person setup above is easily expanded for 2, especially if they’re in-person. All you need is the Rode SC6 adapter and a second Smartlav+. The SC6 adapter is a great little gadget that lets you plug two microphones into one smartphone. As an added bonus, you can also plug a set of headphones in to monitor the recording.
Once that’s set up, you can take a seat across from your co-host or your guest, pin on a mic each, and start chatting. The quality of the conversation is brilliant!
The only downside is that you have to sit still, since you're tied together by a few cables. That's fine for a half-hour conversation, but what about some quick on-the-go soundbites? Perhaps you want to move around an event and grab short conversations with other attendees. In that case, you want a handheld USB mic, like the Samson Q2U.
Just like the Smartlavs, you’ll be using your smartphone, because it’s simple! You’ll need a USB conversion cable for your phone - whether it’s USB to iPhone or USB to Android - but with one of them in place, you can plug the Samson Q2U right into your phone. Recording is then carried out with the same type of dictation app.
3. The Simplest Setup for 2 (or more) People, ONLINE
Now that we’re online, the options change a little. This is because we need to record a call via the internet. It's still familiar, though: the recording software changes, but the mics stay the same.
The most common method, and a really simple one, is to get hold of a good quality USB microphone - like the Samson Q2U I mentioned before - and record a Skype call.
If your guest has a Skype account already, this is pretty simple, but you are at the whim of the Skype gods. Call quality can be… ahem… variable.
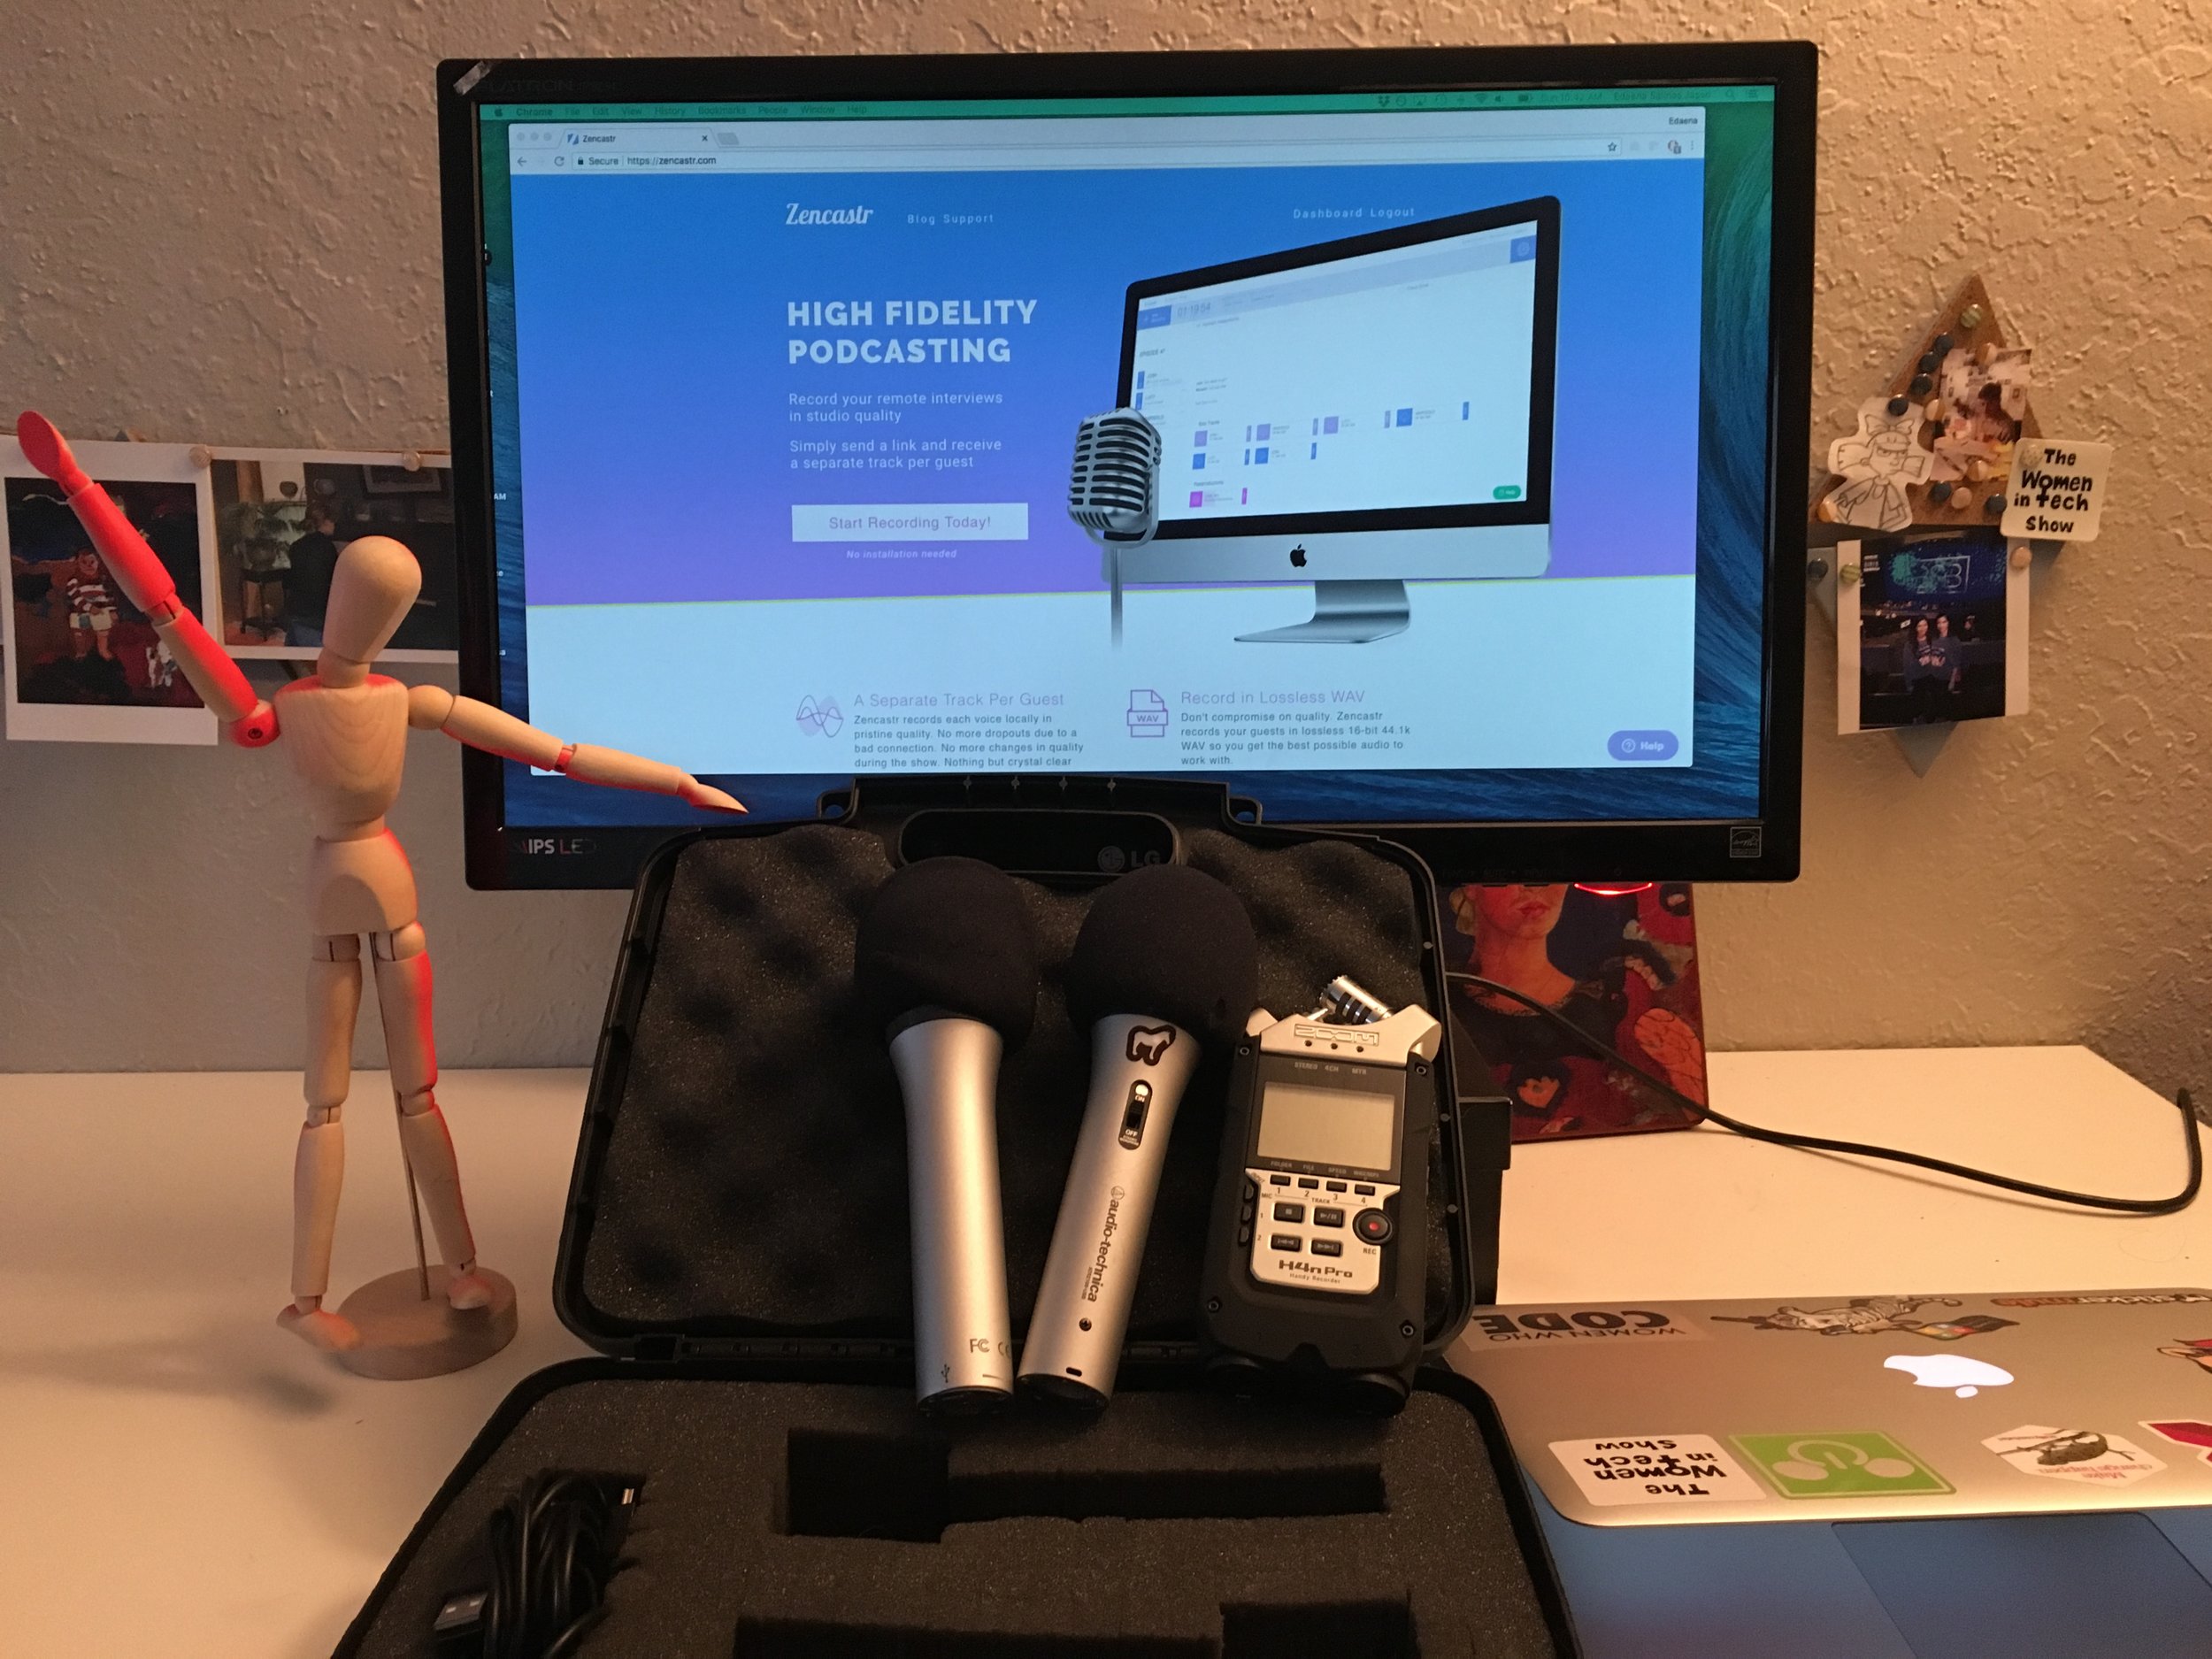
The alternative is a tool like Zencastr, of course. It works perfectly with a USB mic like the Samson Q2U, and it’ll get great quality audio from both sides of the conversation. Plus, it adds a few elements of simplicity to your workflow, like an easy link for your guest to jump onto the call.
What About Editing?
Of course, if we’re going simple, it’s worth a quick chat around editing. For me, the simplest method is to record a show as if I'm doing it live. I'll act as if I'm going out on Facebook Live right there and then, so there’s no takebacks. Any mistakes I make are just laughed about, corrected and breezed past.
This approach means there's no editing afterwards. No post production, as the audio pros call it. It’s a much quicker publishing workflow, since all you need to do is make sure the volumes and the sound quality are polished up. And best of all, Zencastr can do a lot of that for you with it’s post-production tools.
Or, if you do need to do a bit of editing - there are a few mistakes or tangents that just can’t stay - then there’s always Audacity. Audacity is a free audio editor that can do just about everything you need. It’s reasonably easy to learn and pretty quick to work with.
If you want to make it even simpler, though, then you might want to take a look at Alitu. That's our tool designed to make audio editing and publishing as simple a process as possible.
You simply upload your recording - from your phone, from Zencastr, from Facebook live, or elsewhere - and then Alitu helps you with the rest. We have really easy tools to let you clip mistakes, cut out silence and split up clips. Then you can piece together your episode with the builder, bringing in listener clips, adverts, FX, etc, before publishing right to your media host. It can even add your theme music automatically during the export.
Start as Simple as Possible
I’ve talked through some of the simplest setups possible here, so it’s just down to you, now, to get started.
Remember, the rule - keep it simple.
Don’t be sucked into a fancy equipment setup, thinking that a shiny mic and a digital recorder will somehow gain you listeners. It’s not about the mic or the editing. It’s about you and your message. Save time on setup and spend it on planning, practice and delivery instead.
Regular, engaging content beats pristine audio quality every day of the week.


